
Discover The #1 Strategy Woodworkers Are Already Using to Skyrocket the Quality of Their Building Results Without the Pain of Investing in More Tools, Time or Workspace
Welcome to DIY Woodworking 101. Here you will find all the recourses to start building your first project or start to master your builds. Get new project ideas, tricks tips and 1000's of how to build plans. Don't leave without taking advantage of all the great information on this page.


10 DIY Woodworking Hacks & Tips!
Makeshift Drill Bite
If you don’t have the correct size drill bit for a hole that you need to drill you can just use a nail instead. Take the nail that you’re planning on using, clip off the head, attach it to the drill and just use that as the drill bit.
Sanding Made Easier
Use a sanding block for faster, more efficient results. It distributes sanding pressure more evenly and maintains a flatter surface than merely folding a piece of sandpaper.
Sand with the grain of the wood. To remove deep scratches and stains, angle across the grain up to about 45º for the first sanding. Before moving to the next finer grit, sand with the grain to remove all cross-grain scratches.
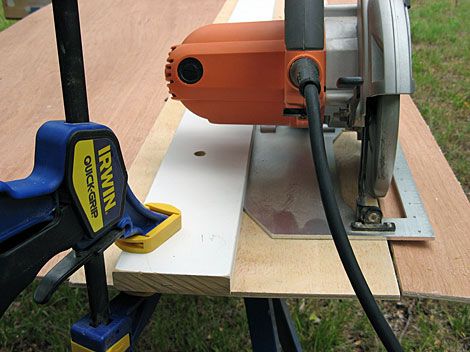
Straighter Circular Saw Cuts
For straighter wood cuts, build yourself an easy circular saw guide and your finished product will look that much better.
If you don’t have the correct size drill bit for a hole that you need to drill you can just use a nail instead. Take the nail that you’re planning on using, clip off the head, attach it to the drill and just use that as the drill bit.
Sanding Made Easier
Use a sanding block for faster, more efficient results. It distributes sanding pressure more evenly and maintains a flatter surface than merely folding a piece of sandpaper.
Sand with the grain of the wood. To remove deep scratches and stains, angle across the grain up to about 45º for the first sanding. Before moving to the next finer grit, sand with the grain to remove all cross-grain scratches.
Straighter Circular Saw Cuts
For straighter wood cuts, build yourself an easy circular saw guide and your finished product will look that much better.
Prevent Excess Glue Stains
To eliminate stains caused by oozing glue along joints, clamp the pieces together without glue. Apply masking tape over the joint and then cut it with a utility knife.
Next, separate the pieces, apply the glue, and clamp them together again. The glue will ooze onto the tape, not the wood. Remove the tape before the glue dries.
Filling A Hole
When removing a nail from the wall where a nail hole is, try this. Instead of spending money on spackle, just apply some toothpaste. After about two hours of drying, you can paint right over it and no one would ever know!
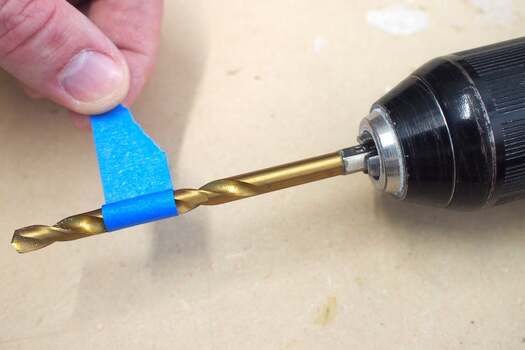
Drill Depth
Not every hole that's drilled needs to be completely though the material. Making a depth marker for a handheld power drill is as easy as using a piece of tape to mark the intended depth of that bit.
Glue Clean Up
Glue is a great tool for lots of woodworking projects, but sometimes there can be a bit of a mess. While the glue is still wet apply sawdust to the glue and rubbing it around to absorb the excess glue. This is a preferable method for glue removal over a damp cloth or sponge, as moisture can cause wood to swell.
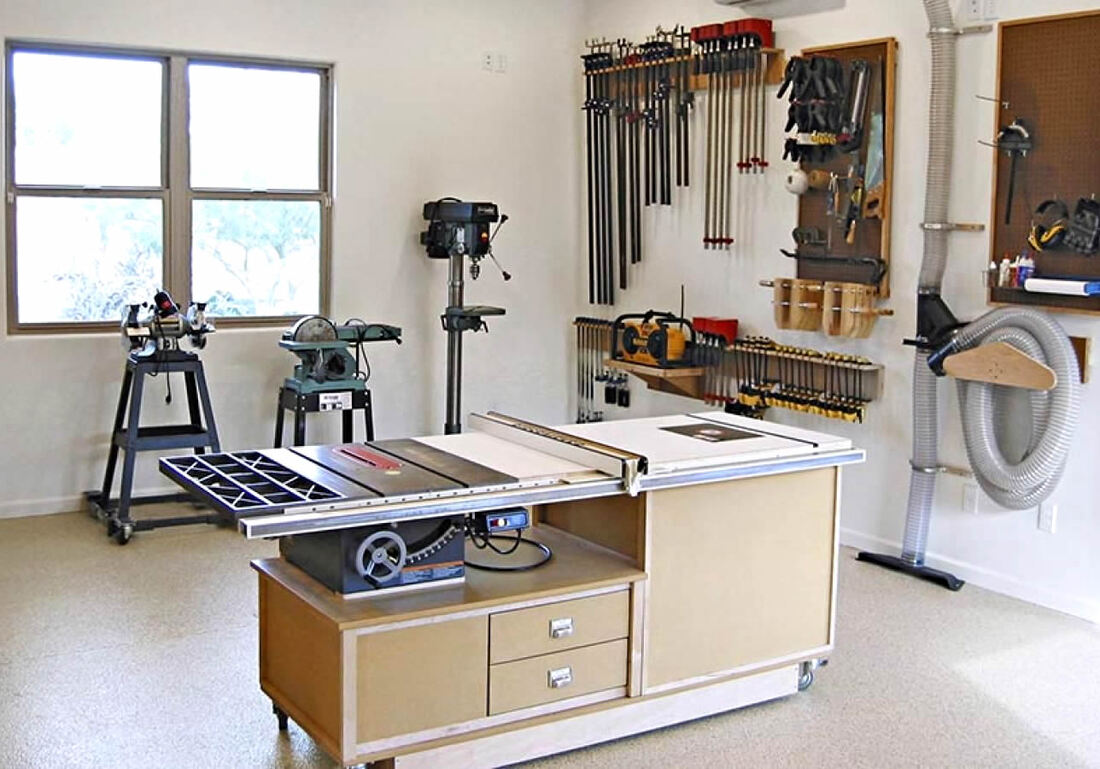
BUY AT LEAST 10 CLAMPS ... AND THEN 10 MORE
I’ve never felt I had too many. I’m always looking at clamps. You can never have enough.
Glue is a great tool for lots of woodworking projects, but sometimes there can be a bit of a mess. While the glue is still wet apply sawdust to the glue and rubbing it around to absorb the excess glue. This is a preferable method for glue removal over a damp cloth or sponge, as moisture can cause wood to swell.
BUY AT LEAST 10 CLAMPS ... AND THEN 10 MORE
I’ve never felt I had too many. I’m always looking at clamps. You can never have enough.
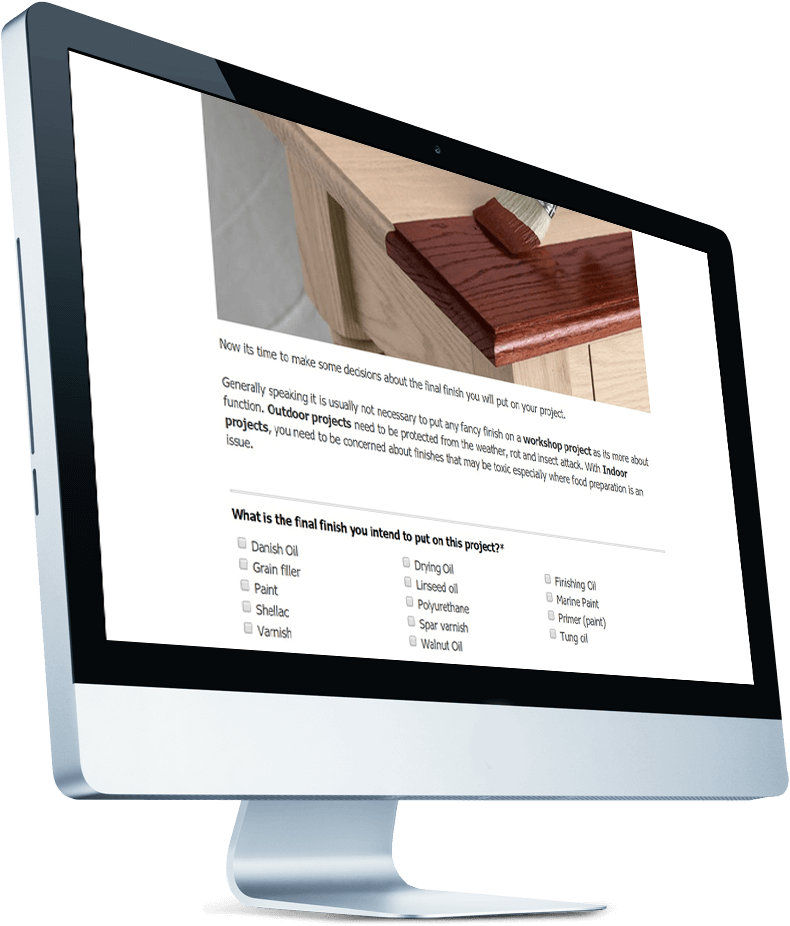
FIND A WATER BASED CLEAR WOOD FINISH
Due to what chemicals are in other products, I would have avoided this and switched to a water-based finished much sooner.
Marking Cut Lines
When measuring material to be cut I find it helpful to put a little tick mark of the side to cut on. This simple action saves countless time remeasuring and helps me account for the thickness of the blade you are cutting with. This may not seem like a big deal, but if you've ever had a project be a 1/8" out of measurement you know how frustrating this can be.

Let us make your builds simple, easy and faster.

Keep reading below for a list of building ideas & more tips.

Teach yourself woodworking?
Woodworking is actually very easy to learn. You will most likely want to build something small to start. Woodworking is a long term learning process, but it's always one project at a time.
Woodworking is actually very easy to learn. You will most likely want to build something small to start. Woodworking is a long term learning process, but it's always one project at a time.
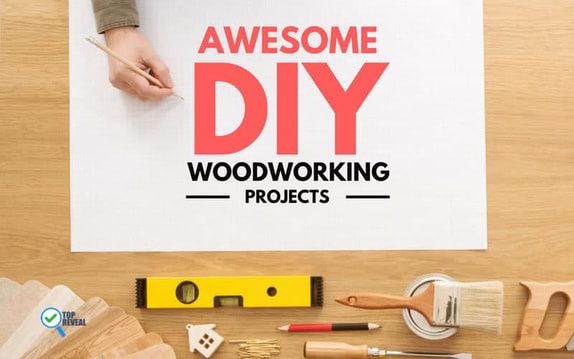
Build Your Custom Project Today with No Guesswork!
As a woodworker, you may have realized that finding the right detailed plans to build some custom projects to meet specific needs can be very difficult. Check this out!
- Easy-to-understand step by step instructions; Every plan has simple “hold-you-by-the-hand” instructions.
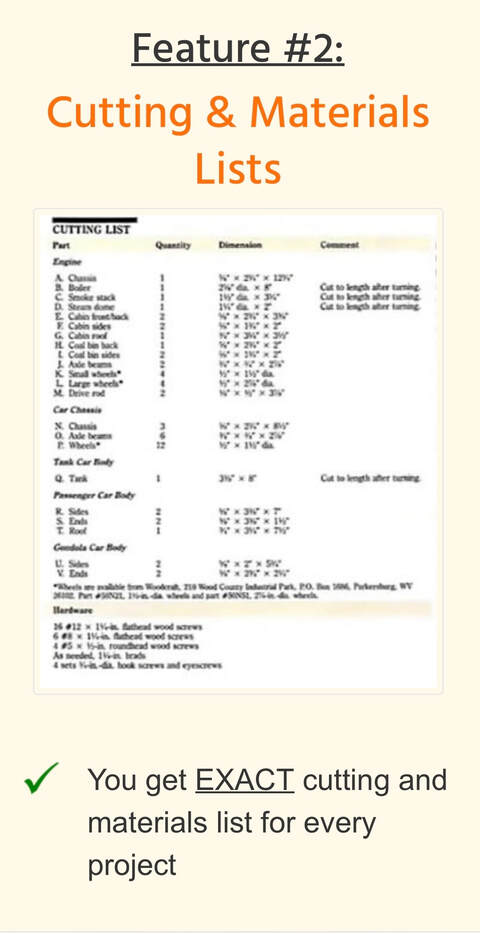
- Materials and Cutting lists ensuring that you get the right materials and make correct cuttings.
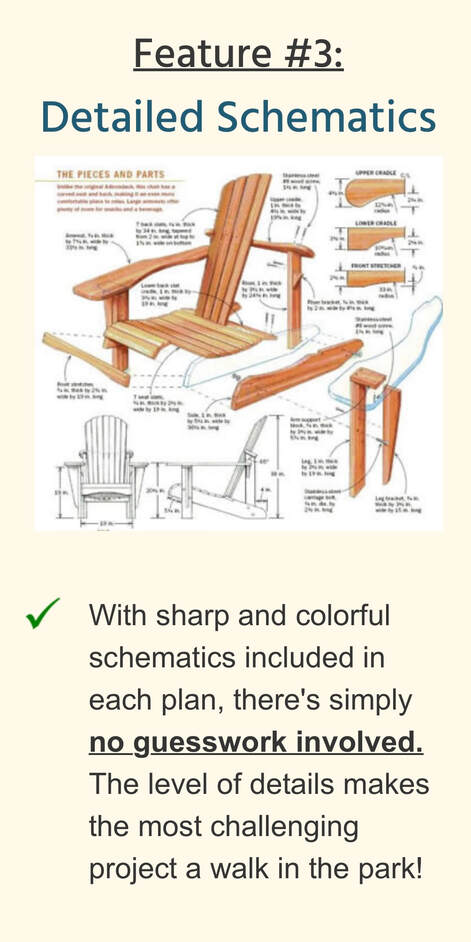
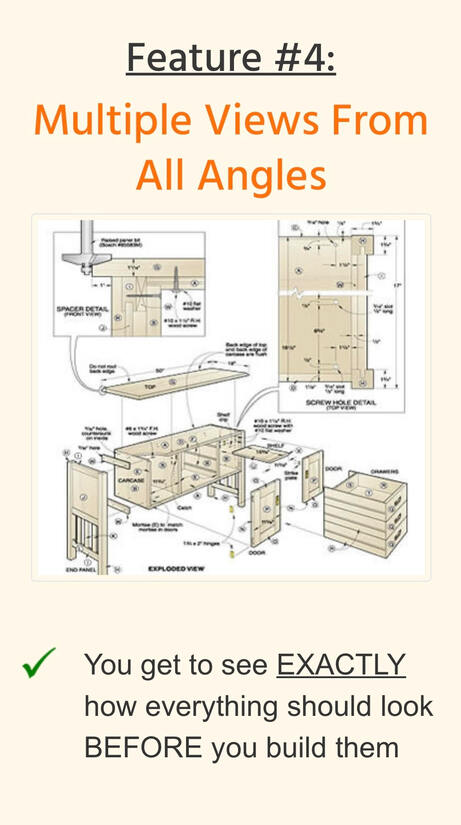
- You get sharp, colorful and detailed schematics. No guesswork is involved, you will know what to do and how to do it.
- The plans give you views from all angles. You will see how everything should look like before you start building.
- Various lists of building plans.
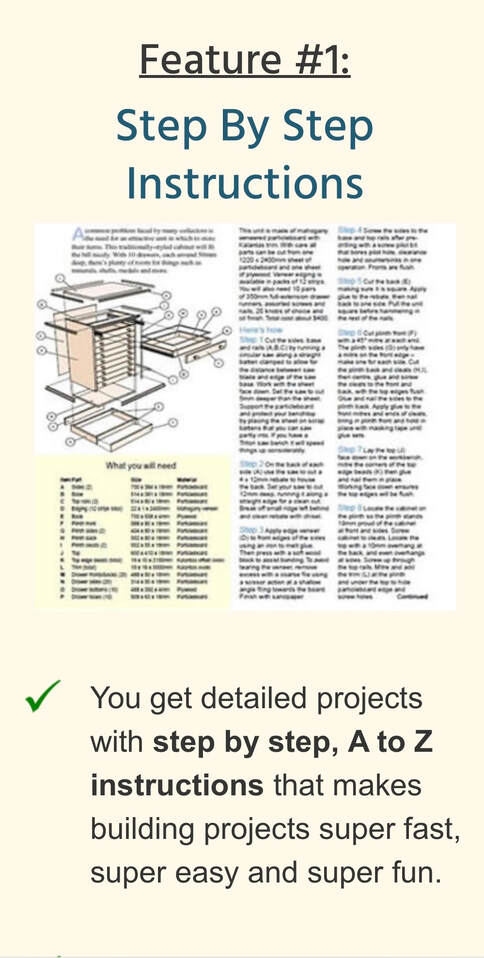
Step-By-Step Instructions:
You get detailed projects with step by step, A to Z instructions that makes building projects super-fast, super easy and super fun.
With the simple "hold-you-by-the hand" instructions, you can complete woodworking projects in the small fraction of the time.
It's like having a MASTER woodworker, by your side, guiding you through the entire project....